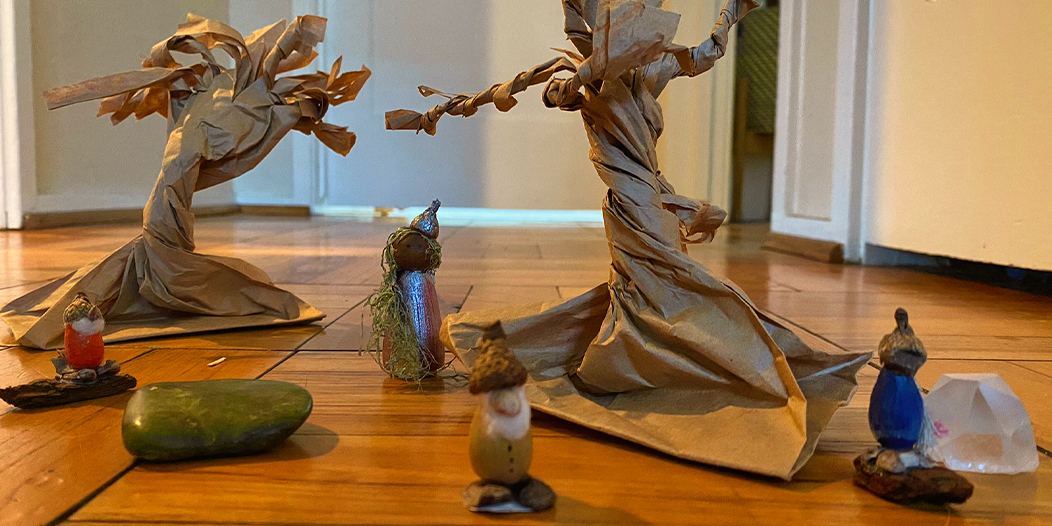
Acorn Gnomes
Grade Levels: Pre-K - 5
Posted: October 23, 2020 | Updated: October 23, 2020
Created by: Schoolhouse by the Sea
Fall is here and, at least where I live, acorns are dropping everywhere! Just the other day, one hit me on the top of my head as I walked under an oak tree-- and that little acorn seemed just mischievous enough to want to be turned into a gnome. I went home and started experimenting. These little acorn gnomes are what I came up with! They’re nice and simple, so I hope you’ll enjoy making some of your own.
Before beginning this craft, you’ll want to forage outside for materials. Go on a walk to gather acorns, small leaves, flat stones, bark with a flat edge (this is easy to find in garden mulch!), and very tiny pebbles to make a nose. You can find other items for this craft, like glue or lentils, at home, but the more you find outdoors, the more at home your gnome will feel in your neighborhood. Enjoy foraging!
Materials
- Acorns
- Acorn caps
- Cotton ball
- Glue
- Nose: a single lentil, a lavender bud, a small stone, a flax seed, a small leaf... choose what you like best!
- Base: A flat stone, flat wood, a clay base... choose what you like best!
Optional
- Acrylic paints and paint brushes to add color
- Sharpie pen to add “buttons”
- Needle and fishing line to make your gnome a necklace or hanging decoration
Directions
-
Optional: Use the acrylic paints to add color to your gnome’s body.
- Choose your color.
- Apply two coats, waiting 30 minutes after each.
- Remove the cap from the acorn.
- Take a little fluff from a cotton ball and stuff it in the acorn cap. Let some hang out the front to make a beard or out the back to make long hair.
-
Optional: Use the needle and fishing line to make a necklace (see below).
- Using the needle, carefully make two holes in the acorn cap on either side of the “stem”.
- Thread your needle.
- Bring the needle through one hole in the acorn top, then the other.
- Tie both ends of the string or finishing line together to your desired length.
- Add some glue to the cotton ball, making sure there is enough glue to secure the cotton to the cap, but not enough to spill out.
- Place the pointy side of the acorn in the cap. Apply pressure for 30 seconds then leave the gnome to dry.
- Glue the base to the round side of the acorn, as feet. Make sure your base is flat, so the gnome can stand! Let dry at least 30 minutes.
- Find a home for your gnome! Enjoy!
Gnomes are happiest in a flock, so be sure to make plenty! They also enjoy a well-decorated habitat, so consider pairing this craft with our Paper Bag Trees. I hear that gnomes love to live in tree roots!